
How to Choose Bracket Components for Roof Rack and Side Step Installation on Off-Road Vehicles
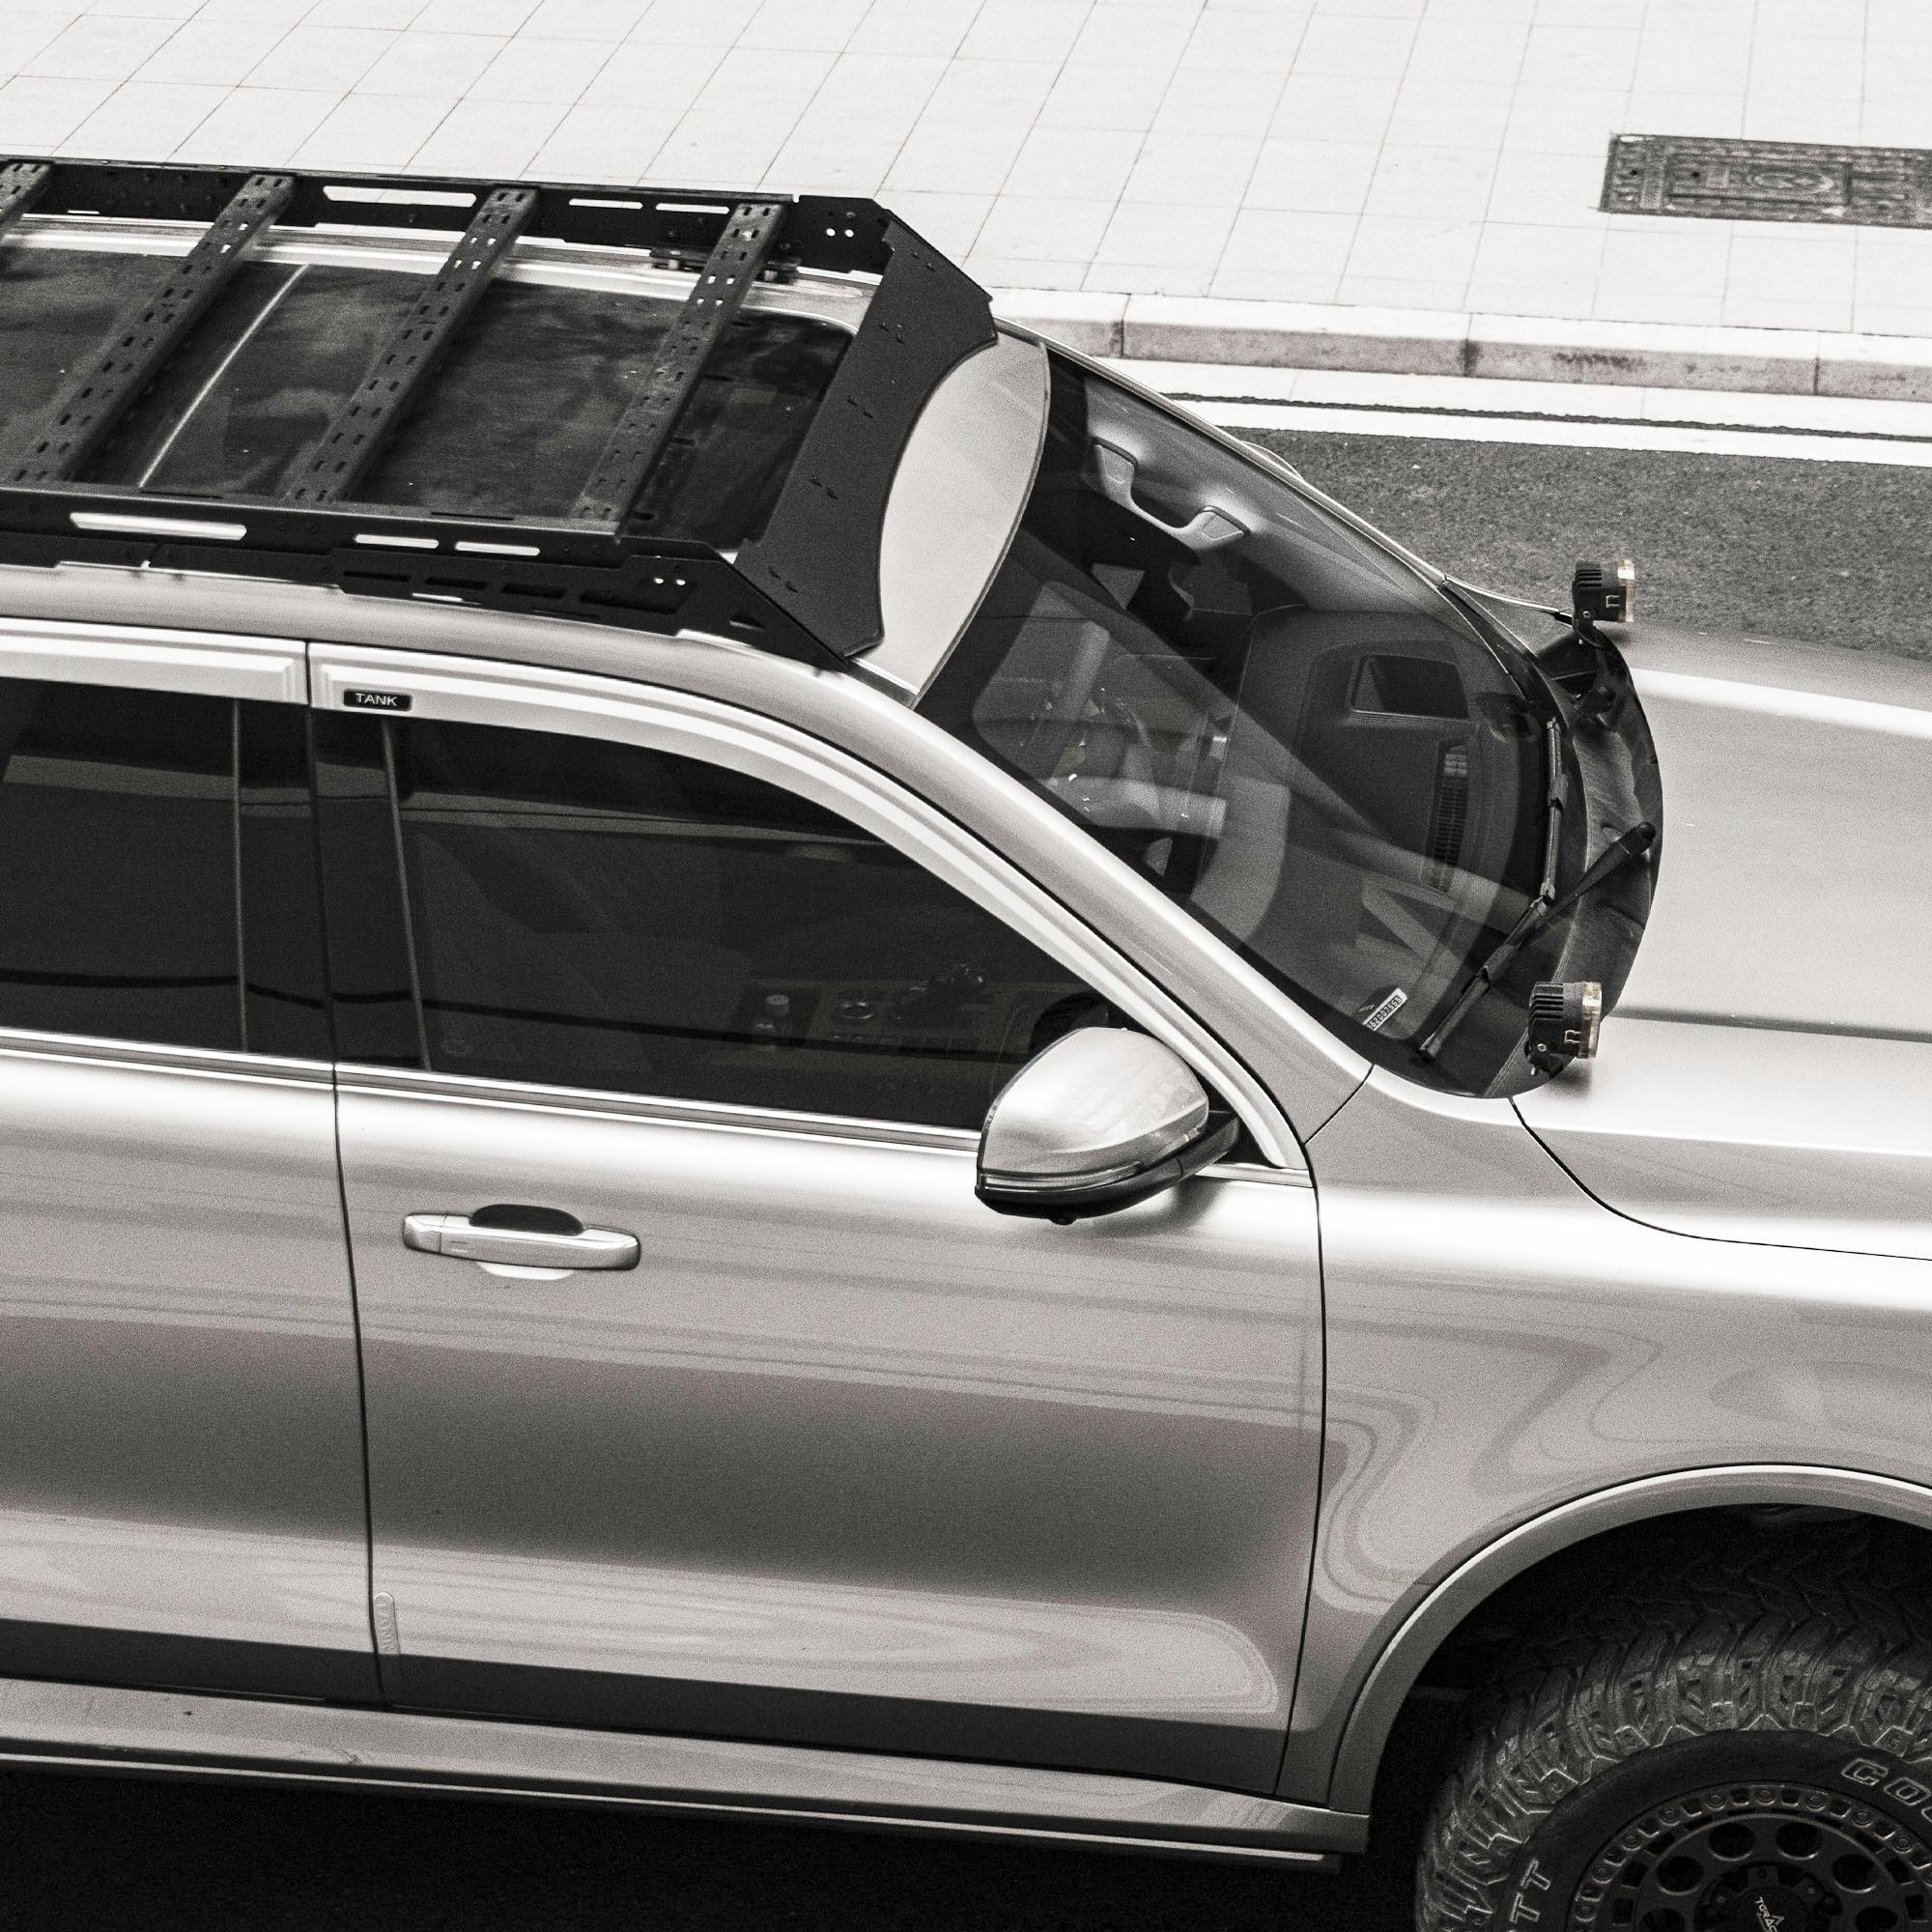
Why brackets decide whether a roof rack or side step survives off-road use
A roof rack or side step is only as strong as the brackets that tie it to the vehicle. The rack or step carries the visible load; the brackets transfer that load into the chassis, body, or existing mounting points. On rough terrain, those brackets see repeated shock loads, vibration, and sometimes direct impacts. A bracket that fits but is undersized, poorly protected against corrosion, or attached at the wrong points can loosen, crack, or damage the mounting surface.
This guide is for buyers and engineers specifying bracket components for roof rack and side step installation on off-road vehicles. It covers the operating context, the requirements that matter, the main solution paths, selection logic, installation and verification steps, and the limitations to check before ordering. The same bracket-selection logic applies to related accessories such as front competition bumpers and underbody skid plates, because they share the same chassis interface and corrosion environment.
Start with the load path, not the accessory
Before comparing bracket styles, map how force travels from the accessory to the vehicle. For a roof rack, loads include the static weight of the rack and cargo, dynamic amplification from rough roads, and occasional point loads from straps or tie-downs. For a side step or rock slider, loads include the weight of a person stepping on it, repeated foot traffic, and impact from rocks or trees. The bracket must carry those loads without exceeding the capacity of the vehicle's mounting points.
Identify the mounting interface
Off-road accessories typically attach in one of three ways: to existing chassis mounting points, to body panels with reinforcement, or to dedicated brackets that distribute load across multiple fasteners. Existing chassis points are generally preferred for heavy accessories because the chassis is designed to carry structural loads. Body-mounted brackets can work for lighter accessories but need enough fastener spread and reinforcement to avoid panel distortion or fatigue.
Ask the supplier which mounting points the bracket uses and whether any drilling, trimming, or reinforcement is required. For the front competition bumper shown in the reference component layout, the bumper body, mounting brackets, lower plate, and fastener set are presented as separate components, which makes it easier to review the load path before installation. The installed example carries a Peerless Hero name plate, but the bracket design and fitment still need to be confirmed for each vehicle model and order.
Match bracket capacity to the accessory's duty cycle
A bracket sized for occasional light use is not the same as one intended for repeated off-road impact. Define the duty cycle before selecting: how much static load, how much dynamic shock, how often the accessory will be loaded, and whether the vehicle will see rock crawling, washboard roads, or mostly highway driving. The bracket's material thickness, fastener count, and attachment geometry should follow from those numbers, not from appearance alone.
Requirements to specify before comparing suppliers
A clear requirement list keeps the conversation with any supplier concrete. The table below groups the main specification areas and the questions to resolve for each.
Requirement areaWhat to defineWhy it matters Vehicle interfaceModel, year, trim, and whether the bracket uses existing chassis points or requires drillingFitment errors are the most common cause of installation problems and returns Load caseStatic load, expected dynamic shock, and whether the accessory will carry people or cargoDetermines bracket thickness, fastener size, and attachment spread Material and finishSteel or aluminum alloy, coating type, and corrosion protection for the intended environmentAffects strength, weight, and service life in wet or muddy conditions FastenersGrade, thread type, and whether anti-seize or thread-locking is recommendedFastener quality and installation method affect joint security VerificationFitment check, torque values, and post-installation inspection stepsConfirms the installation is safe before the vehicle is used off roadMaterial and construction choices
Brackets for roof racks and side steps are commonly made from steel or aluminum alloy. Steel offers high strength and stiffness for a given thickness, which suits heavy roof racks and rock sliders that may take direct impact. Aluminum alloy reduces weight and resists corrosion, and some side step configurations in the reference photo galleries use aluminum alloy construction with existing chassis mounting points. The trade-off is that aluminum can be more susceptible to fatigue and galling at fastener joints if the design does not account for it.
Construction details matter as much as the base material. Look for continuous welds on loaded joints, gussets or bends that spread stress, and fastener holes that are sized and spaced to avoid tearing the bracket or the mounting surface. For side steps, rock-slider style designs help shield the lower doors from contact with rocks and trees, and parallel ridges on the step surface are designed to improve grip in wet or muddy conditions. Those features only work if the brackets hold the step rigidly to the vehicle.
Corrosion protection for wet and muddy use
Off-road vehicles see water crossings, mud, road salt, and gravel spray. Brackets are often the first parts to corrode because they sit low on the vehicle and collect debris. Specify a coating system appropriate to the environment, such as powder coating over properly prepared steel, and check that fastener holes and weld areas are not left bare. Stainless or zinc-plated fasteners reduce galvanic mismatch, but the exact fastener specification should come from the supplier for the selected bracket.
Solution paths: three ways to mount roof racks and side steps
There is no single correct bracket approach. The right path depends on the accessory, the vehicle, and how the vehicle will be used.
Existing chassis mounting points
This path uses threaded holes or captured nuts already present on the chassis. It avoids drilling and keeps the load in a structural member. It is often the preferred approach for rock sliders and heavy roof racks. The limitation is that the bracket must match the chassis point spacing exactly, and the vehicle's existing points may not be positioned where the accessory needs support.
Body-mounted brackets with reinforcement
Lighter roof racks and some side steps attach to body panels, sometimes with backing plates or reinforcement brackets. This path is simpler to install but requires care to avoid panel distortion and fatigue. It is less suitable for accessories that will take direct impact or carry heavy dynamic loads.
Custom or vehicle-specific brackets
When no standard bracket fits, a vehicle-specific bracket can be designed around the chassis and accessory. This path gives the best fit but requires accurate vehicle measurements and a clear load specification. It also takes longer to confirm and produce. For buyers working with a manufacturer such as Ji tian Automotive Technology Co., Ltd., the practical step is to share the vehicle model and requirements so the available part and mounting details can be confirmed for the order.
Selection logic: a short decision sequence
Use this sequence to narrow the options before requesting quotes.
- Confirm the vehicle interface. Identify the exact model, year, and trim, and whether existing chassis points are available.
- Classify the accessory duty. Decide whether the roof rack or side step will carry static loads only or will see dynamic shock and impact.
- Choose the mounting path. Prefer existing chassis points for heavy or impact-prone accessories; use body-mounted brackets only where the load case supports it.
- Specify material and finish. Match steel or aluminum alloy to the strength and weight targets, and specify corrosion protection for the environment.
- Define fasteners and torque. Ask for the fastener grade, thread type, and recommended torque values for the selected bracket.
- Plan verification. Include a fitment check and post-installation inspection before the vehicle is used off road.
Installation and verification steps
Correct installation is part of the bracket specification. A bracket that is strong enough but installed with the wrong torque or without surface preparation can still fail.
- Dry-fit the bracket and accessory. Check hole alignment, clearance to body panels, and access to fasteners before final tightening.
- Prepare the mounting surfaces. Remove debris and check that coatings are intact; bare metal at the joint should be treated as specified by the supplier.
- Install fasteners in the recommended sequence. Tighten gradually and evenly to avoid preload imbalance, using the supplier's torque values.
- Check clearances. Confirm the accessory does not contact the body, brake lines, wiring, or moving suspension parts through the full range of steering and suspension travel.
- Re-check torque after initial use. Vibration and settling can reduce preload; inspect and re-torque after the first off-road use as recommended for the specific product.
For side steps, also check step surface grip and door clearance. For roof racks, check that the rack sits level and that the brackets do not distort the roof or drip rail. Record the installed torque values and inspection date so later checks have a baseline.
Warning signs and limitations to check before ordering
Some bracket problems are visible before installation. Watch for these warning signs:
- Brackets that rely on a single fastener or a narrow attachment spread for a heavy accessory.
- Fastener holes that are elongated or oversized without a specified remedy.
- Bare metal or thin coating at weld areas and hole edges.
- No stated torque values or installation sequence.
- Claims of universal fitment without a vehicle-specific fitment check.
Limitations are equally important. A bracket confirmed for one vehicle model and trim may not fit another. Aluminum alloy brackets may not suit the same impact loads as steel. Existing chassis points may not be present on all vehicles. And no bracket can compensate for an accessory that is overloaded beyond its stated capacity. Confirm these points with the supplier before ordering, and treat photo galleries as style references until the final configuration and mounting details are confirmed for your inquiry.
Next step: build a bracket specification sheet
Turn the decisions above into a one-page specification sheet: vehicle model and year, mounting points, load case, material and finish, fastener grade, torque values, and verification steps. Send that sheet to the supplier with your accessory requirements. A supplier who can confirm each line item, rather than offering a generic fitment claim, is easier to evaluate and less likely to deliver a bracket that fails on the trail.